
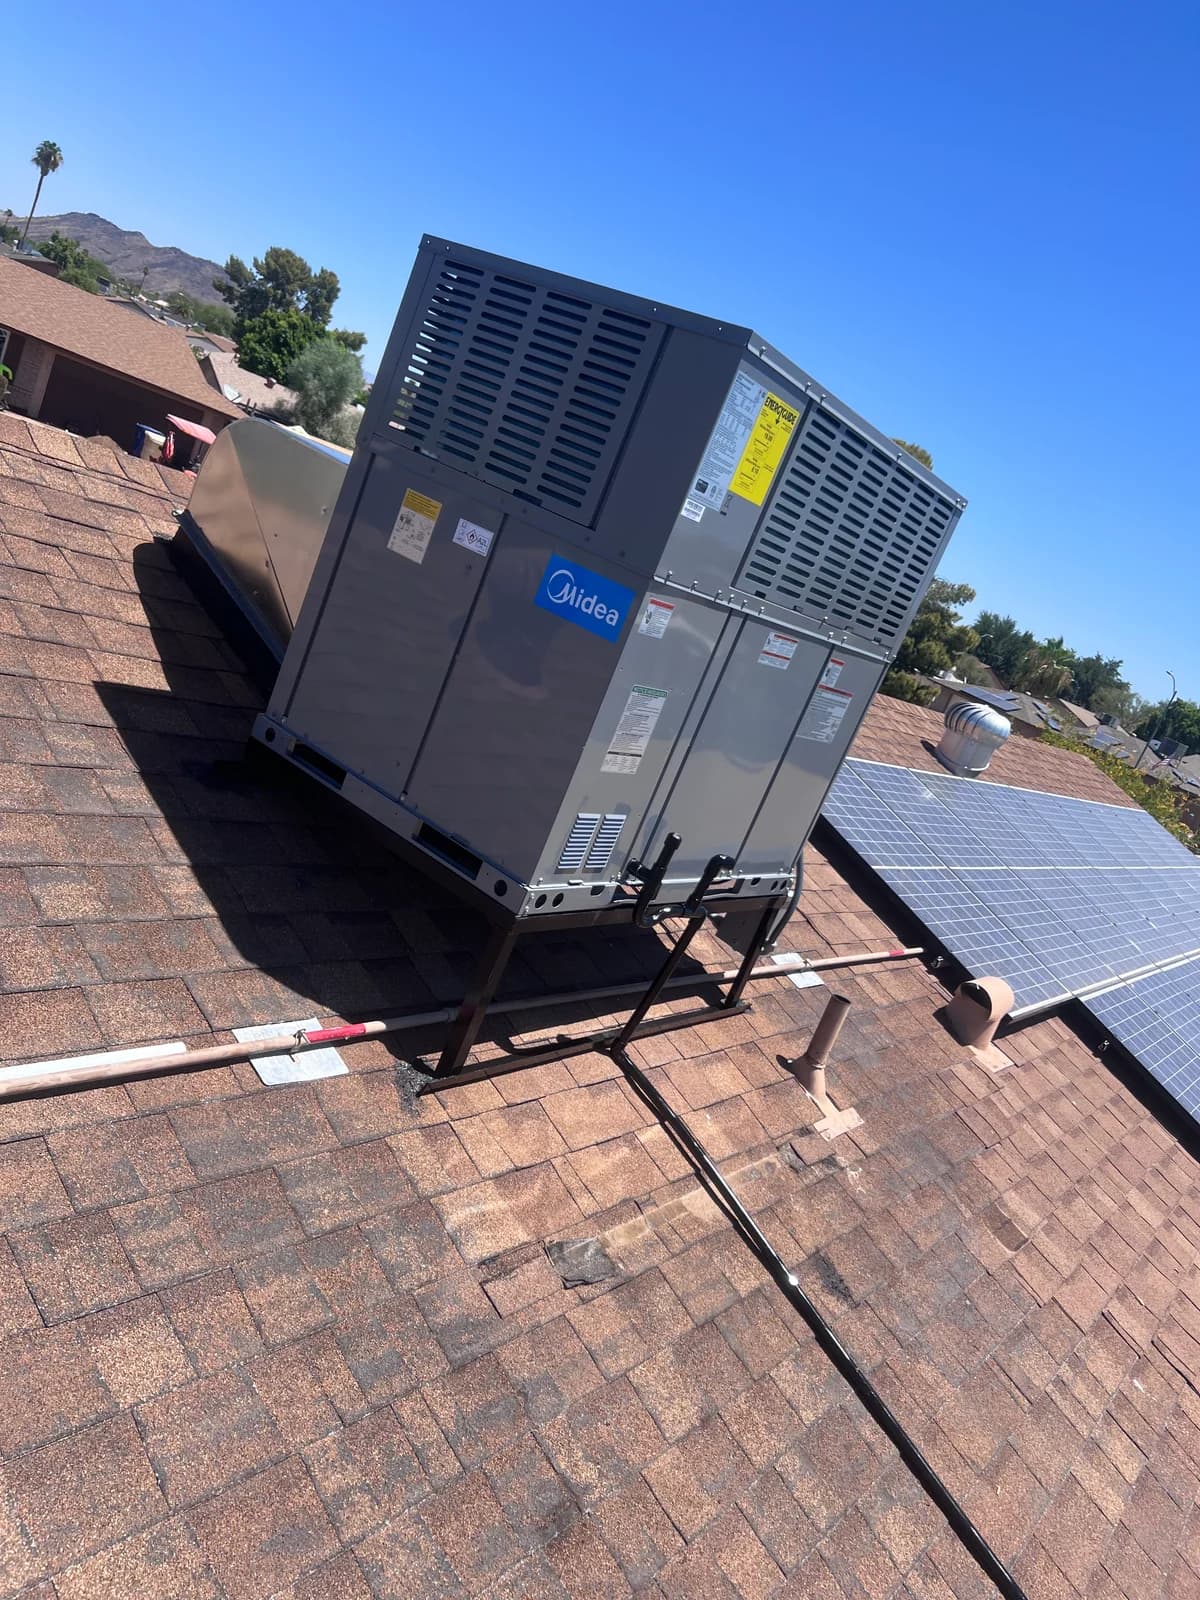
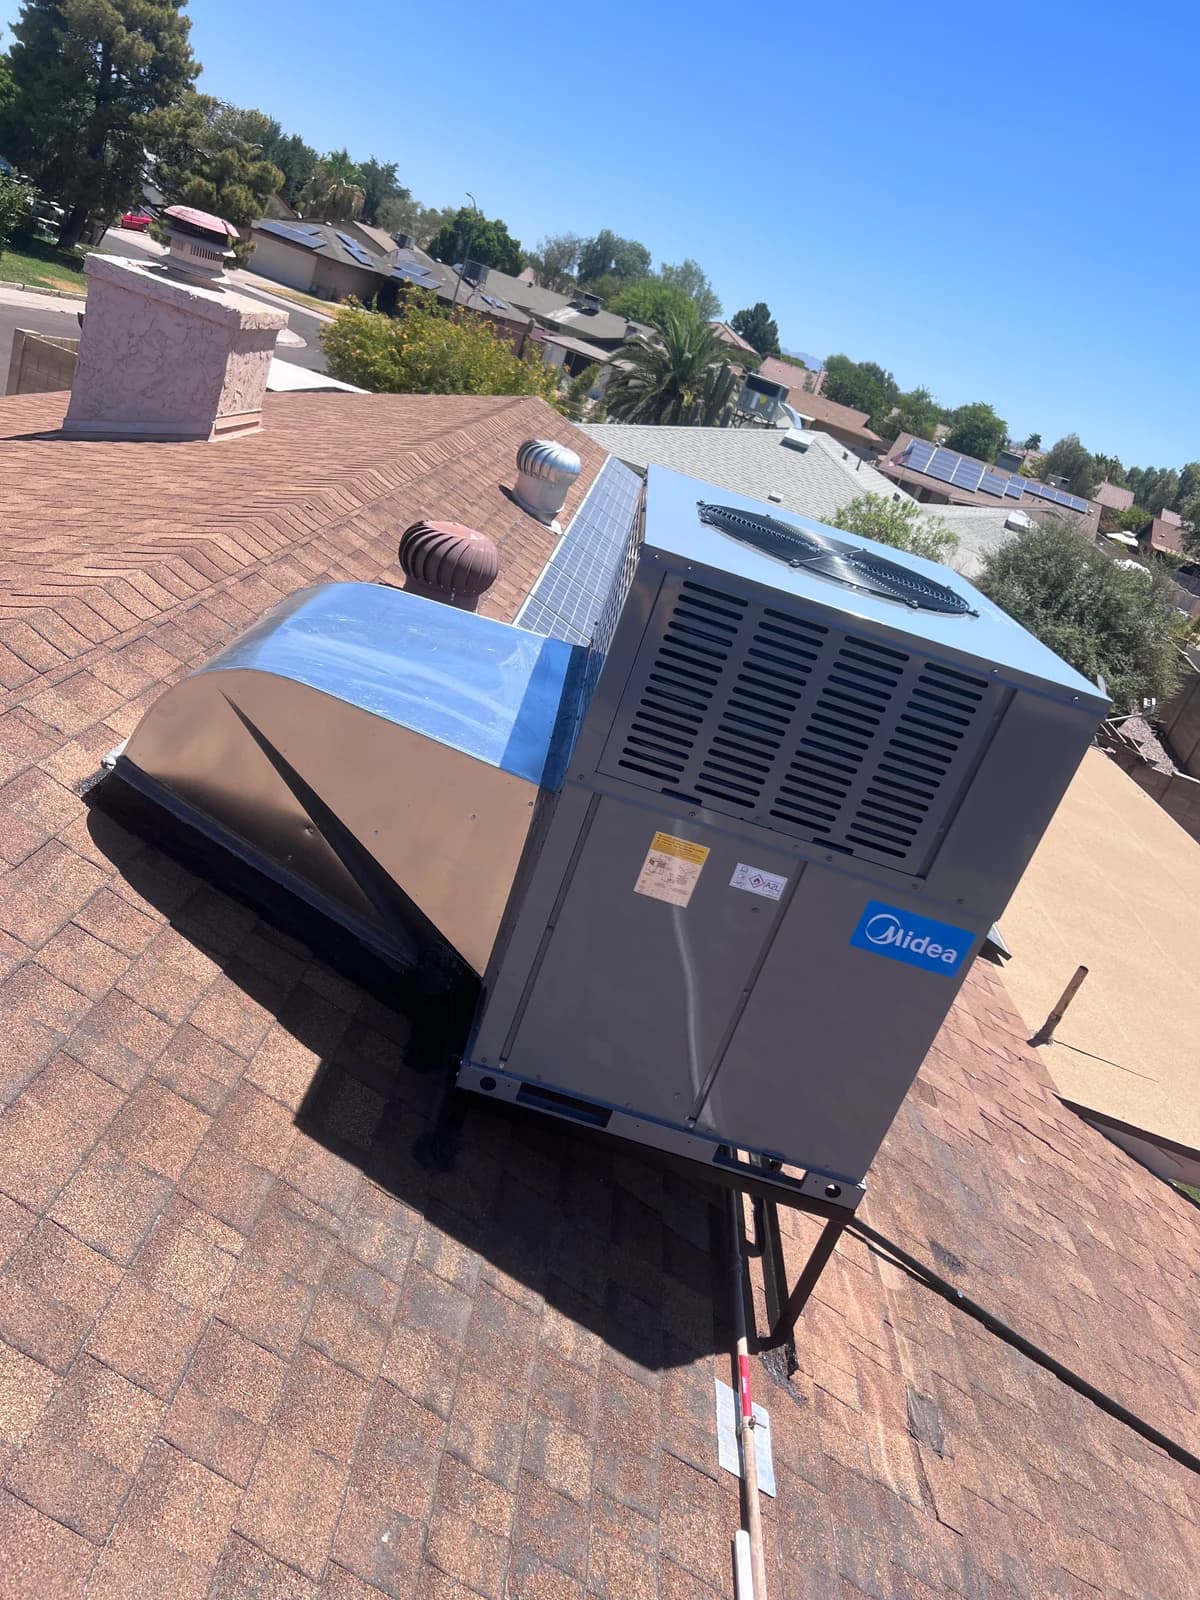
Rooftop system replacement
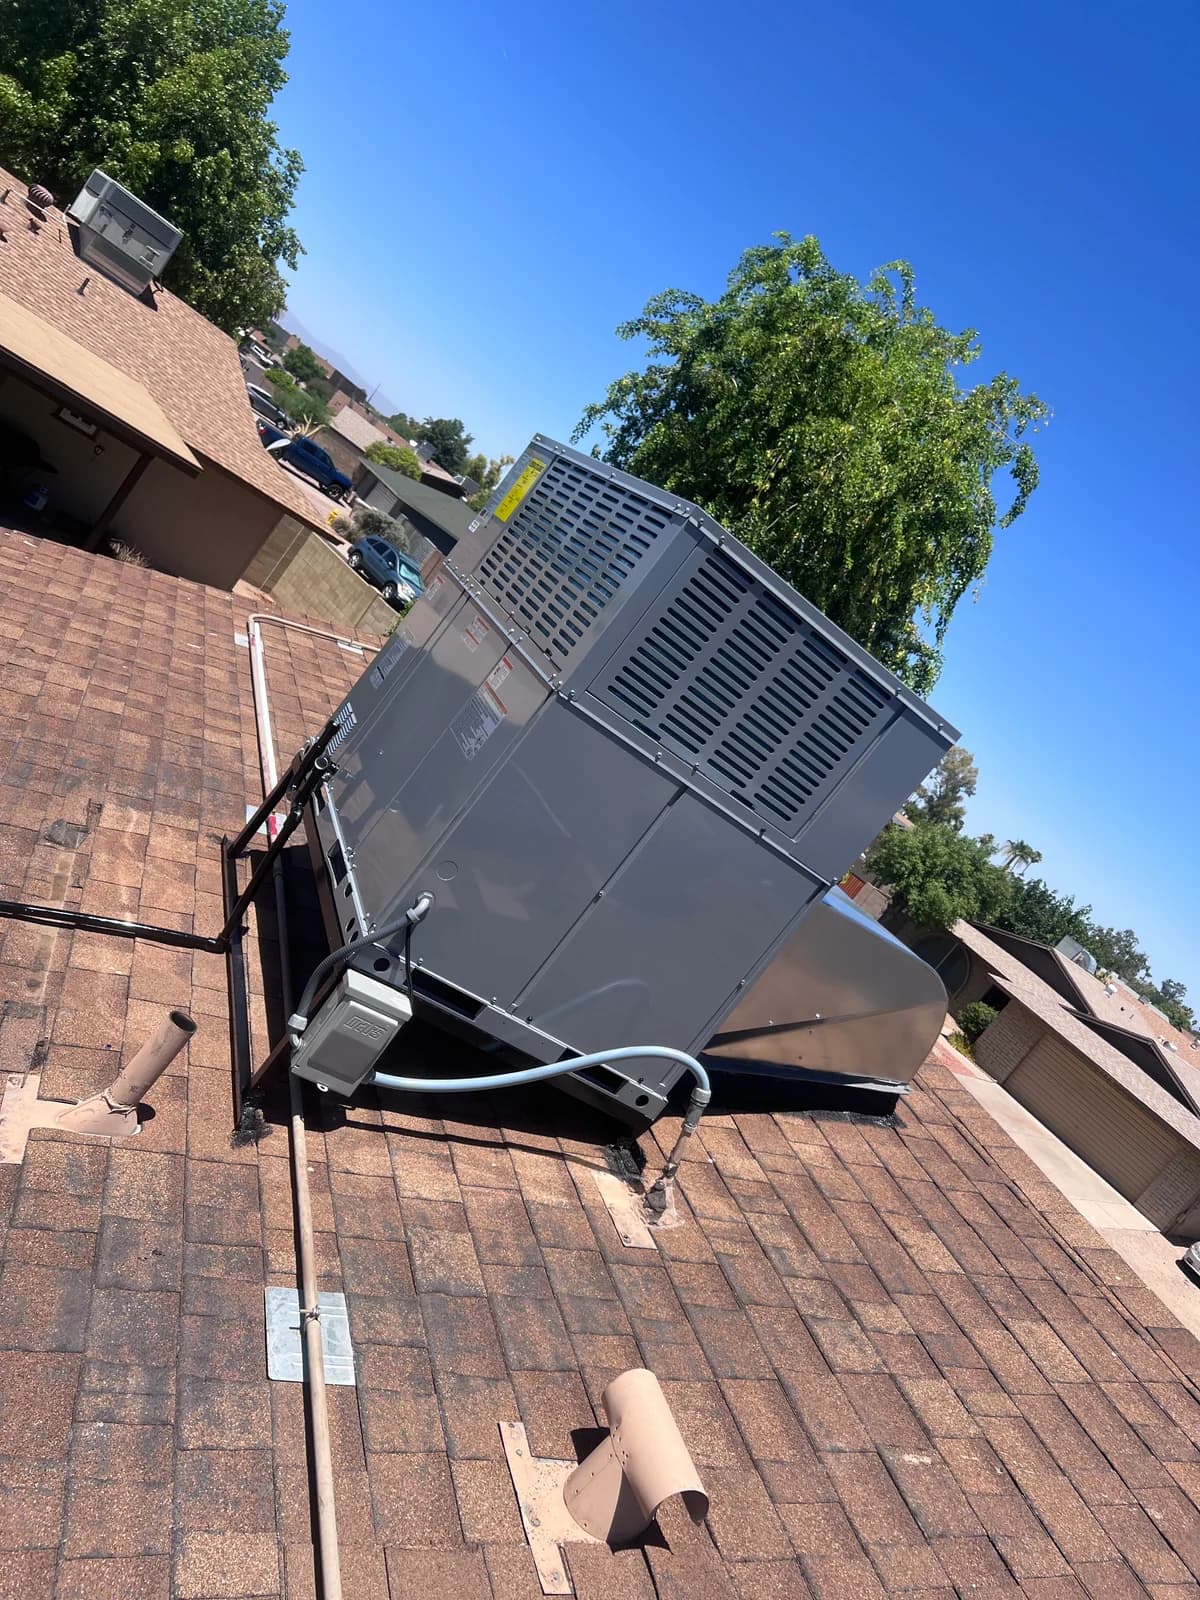
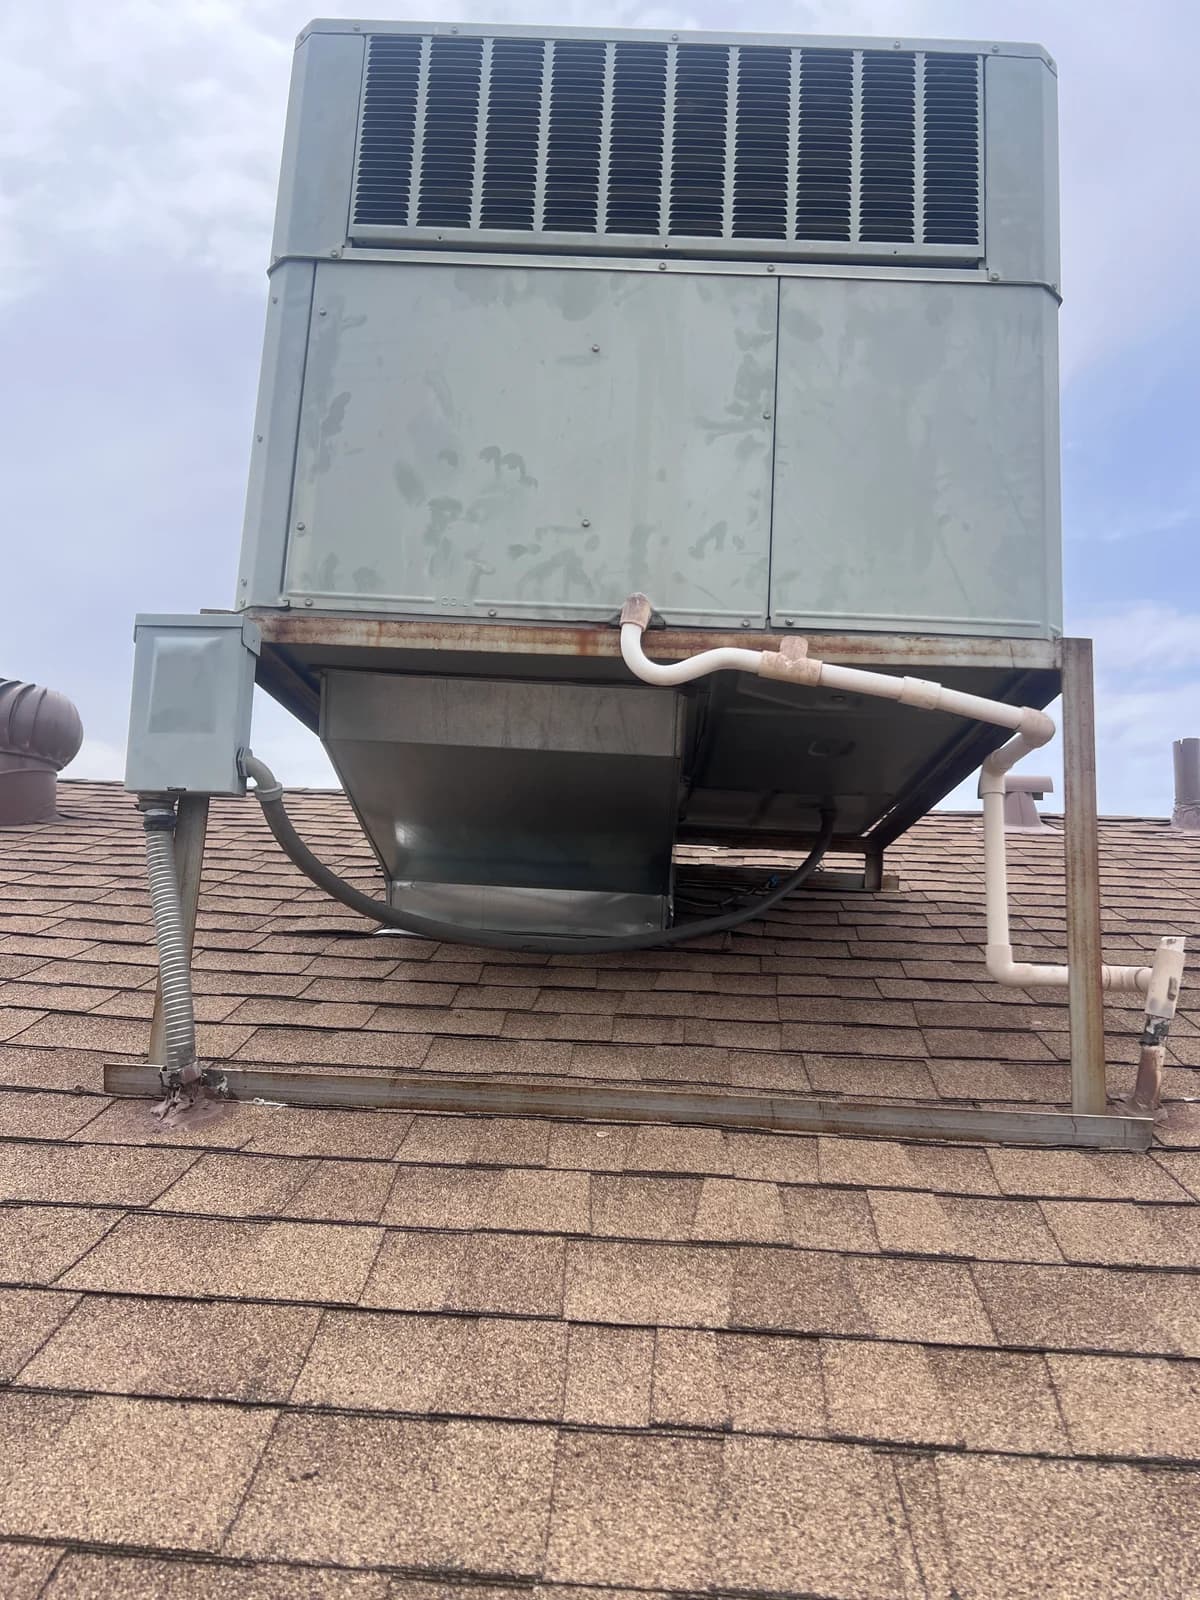
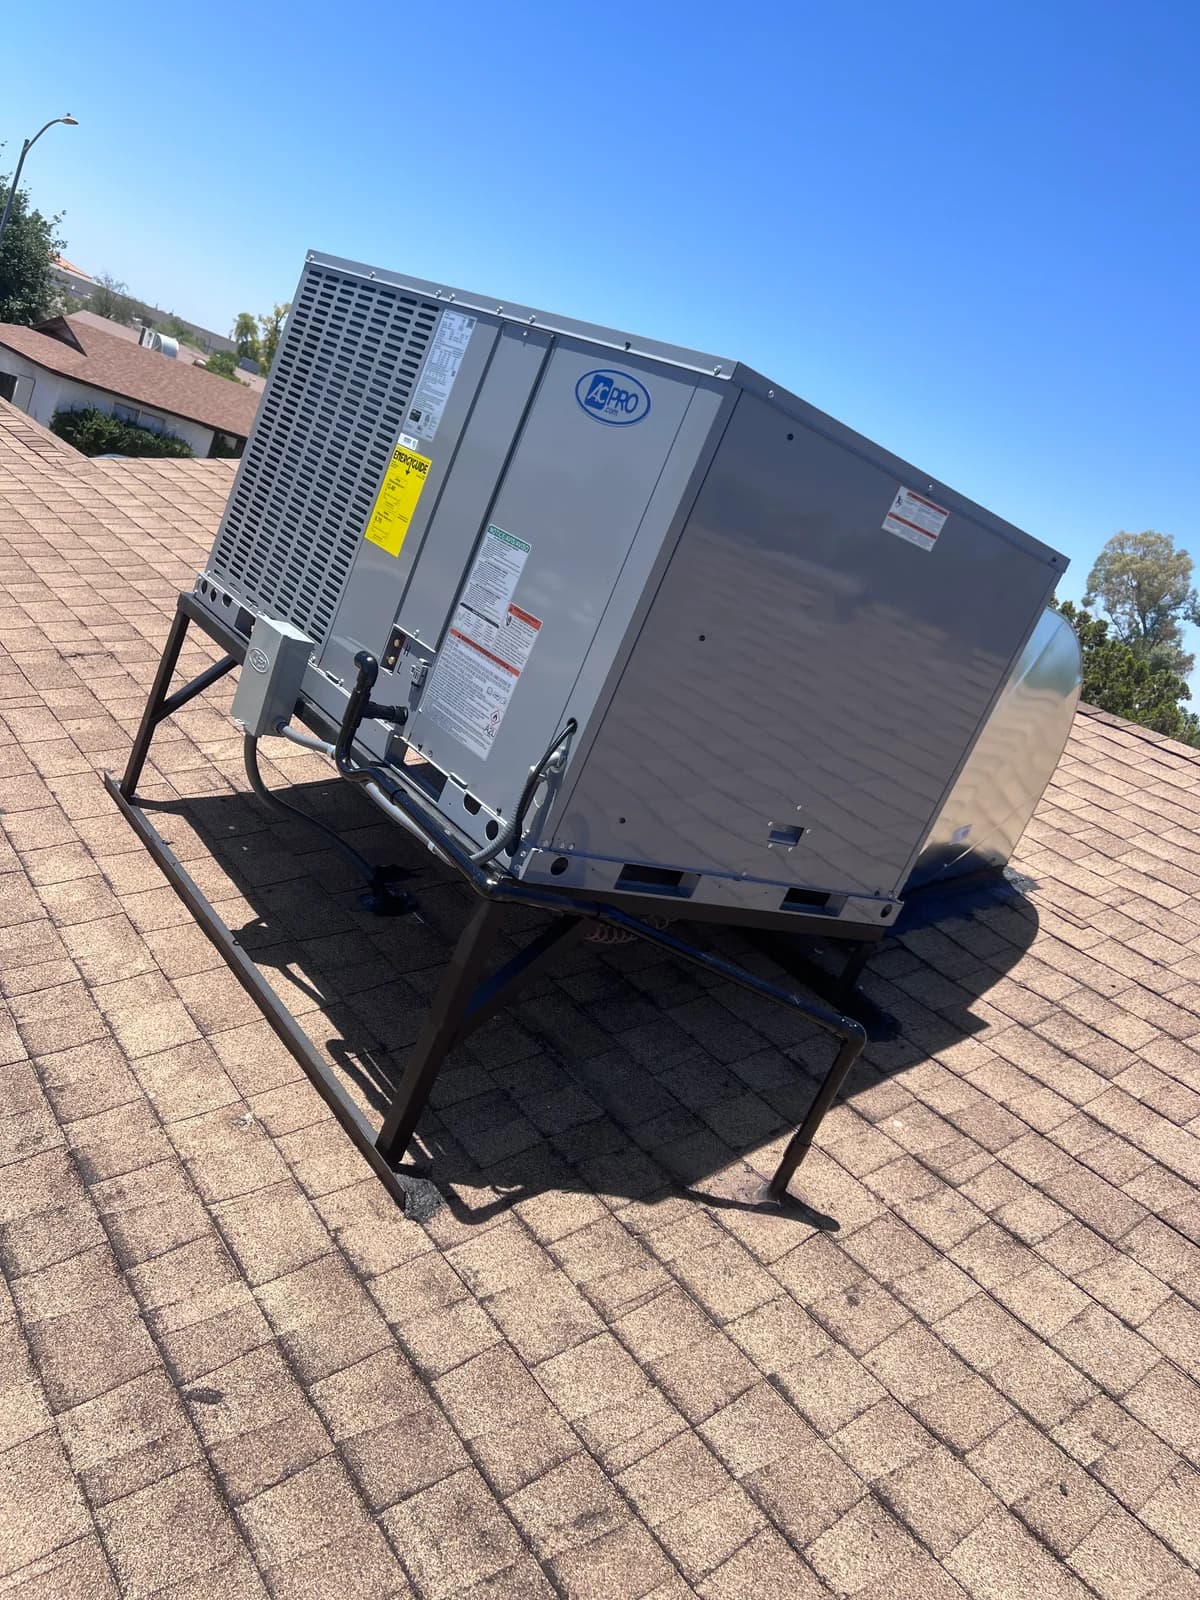
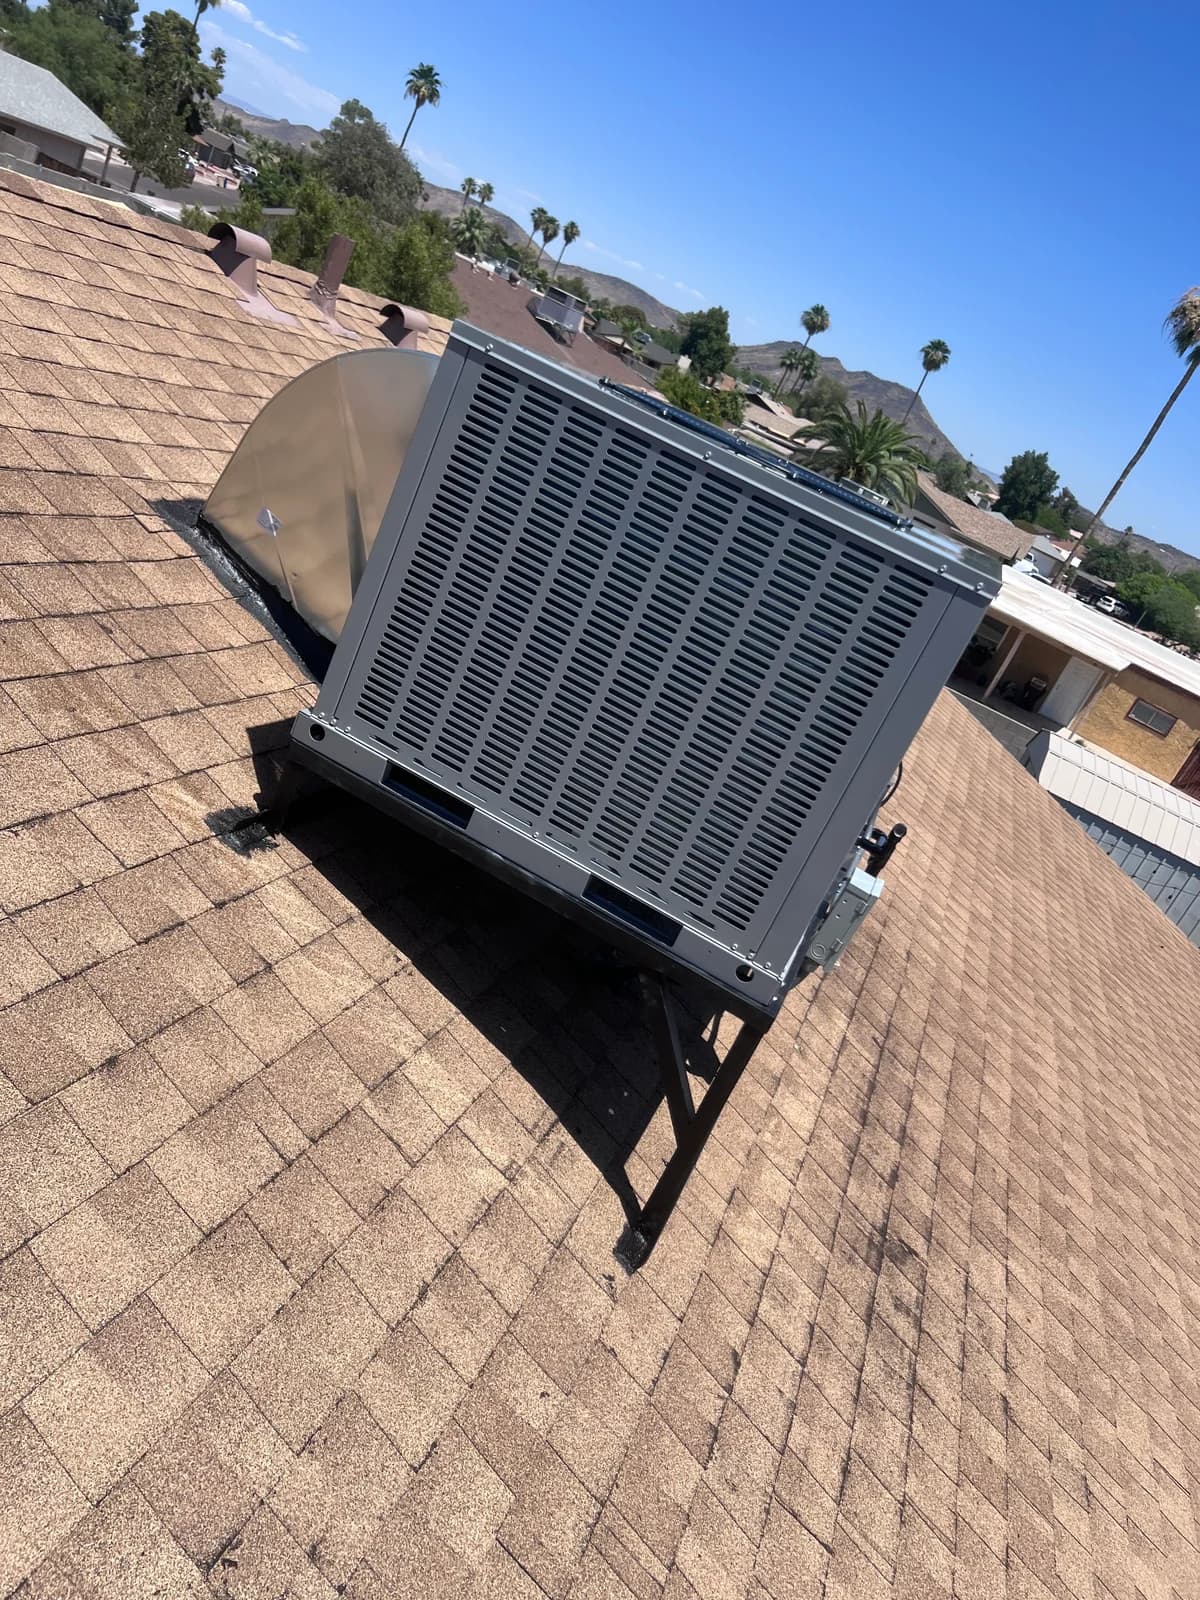
Aging rooftop equipment and its existing support layout were replaced with a clean installation, carefully routed connections, and clear service access.
Before
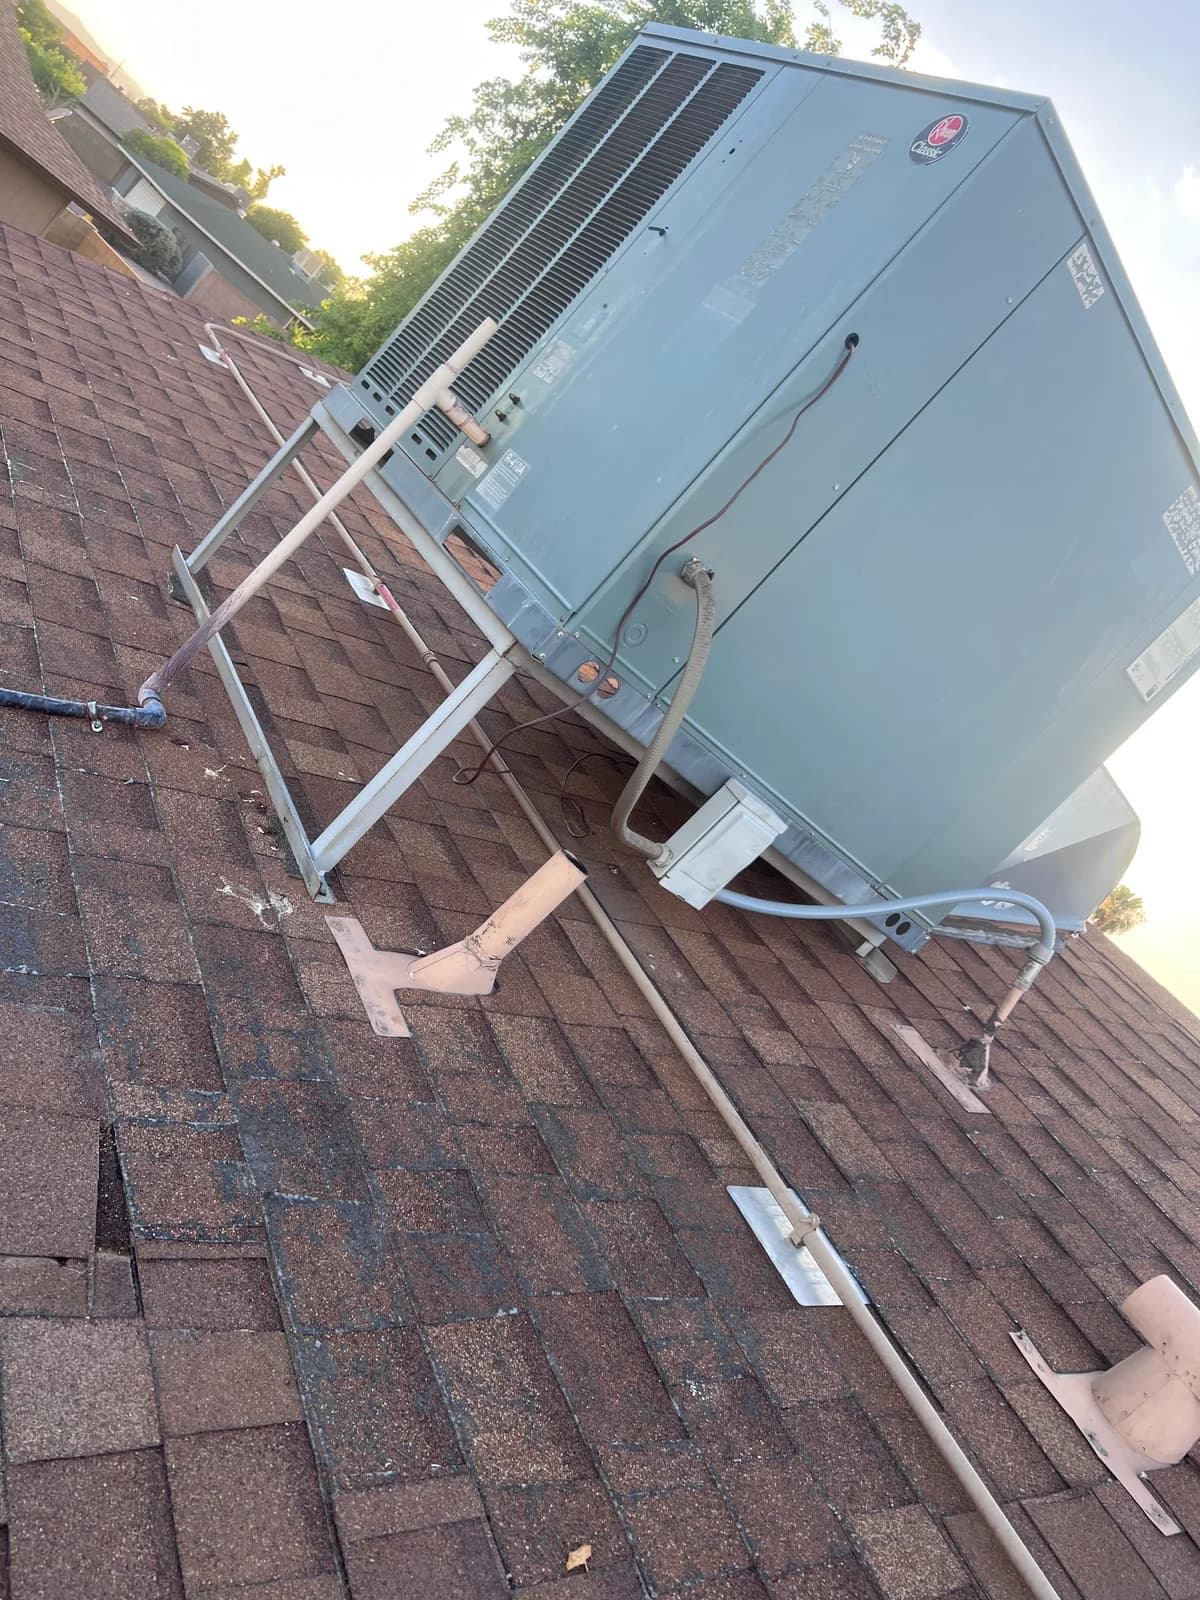
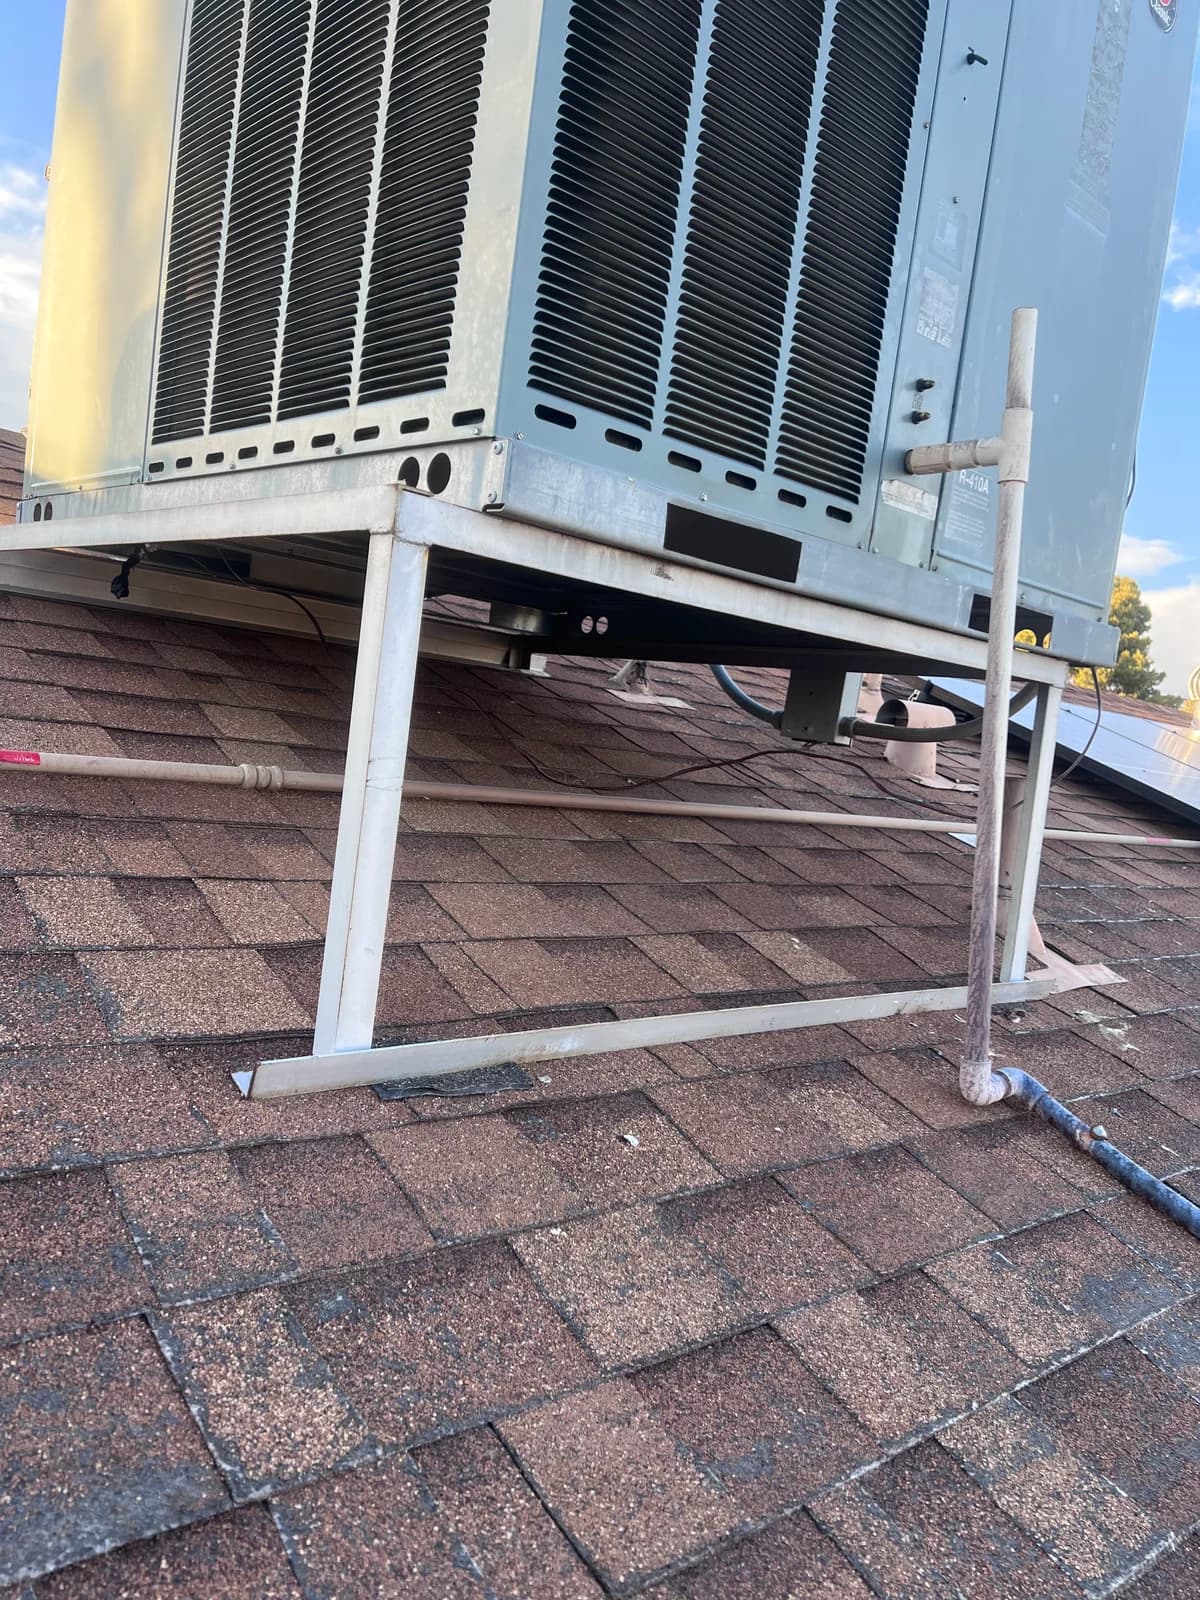
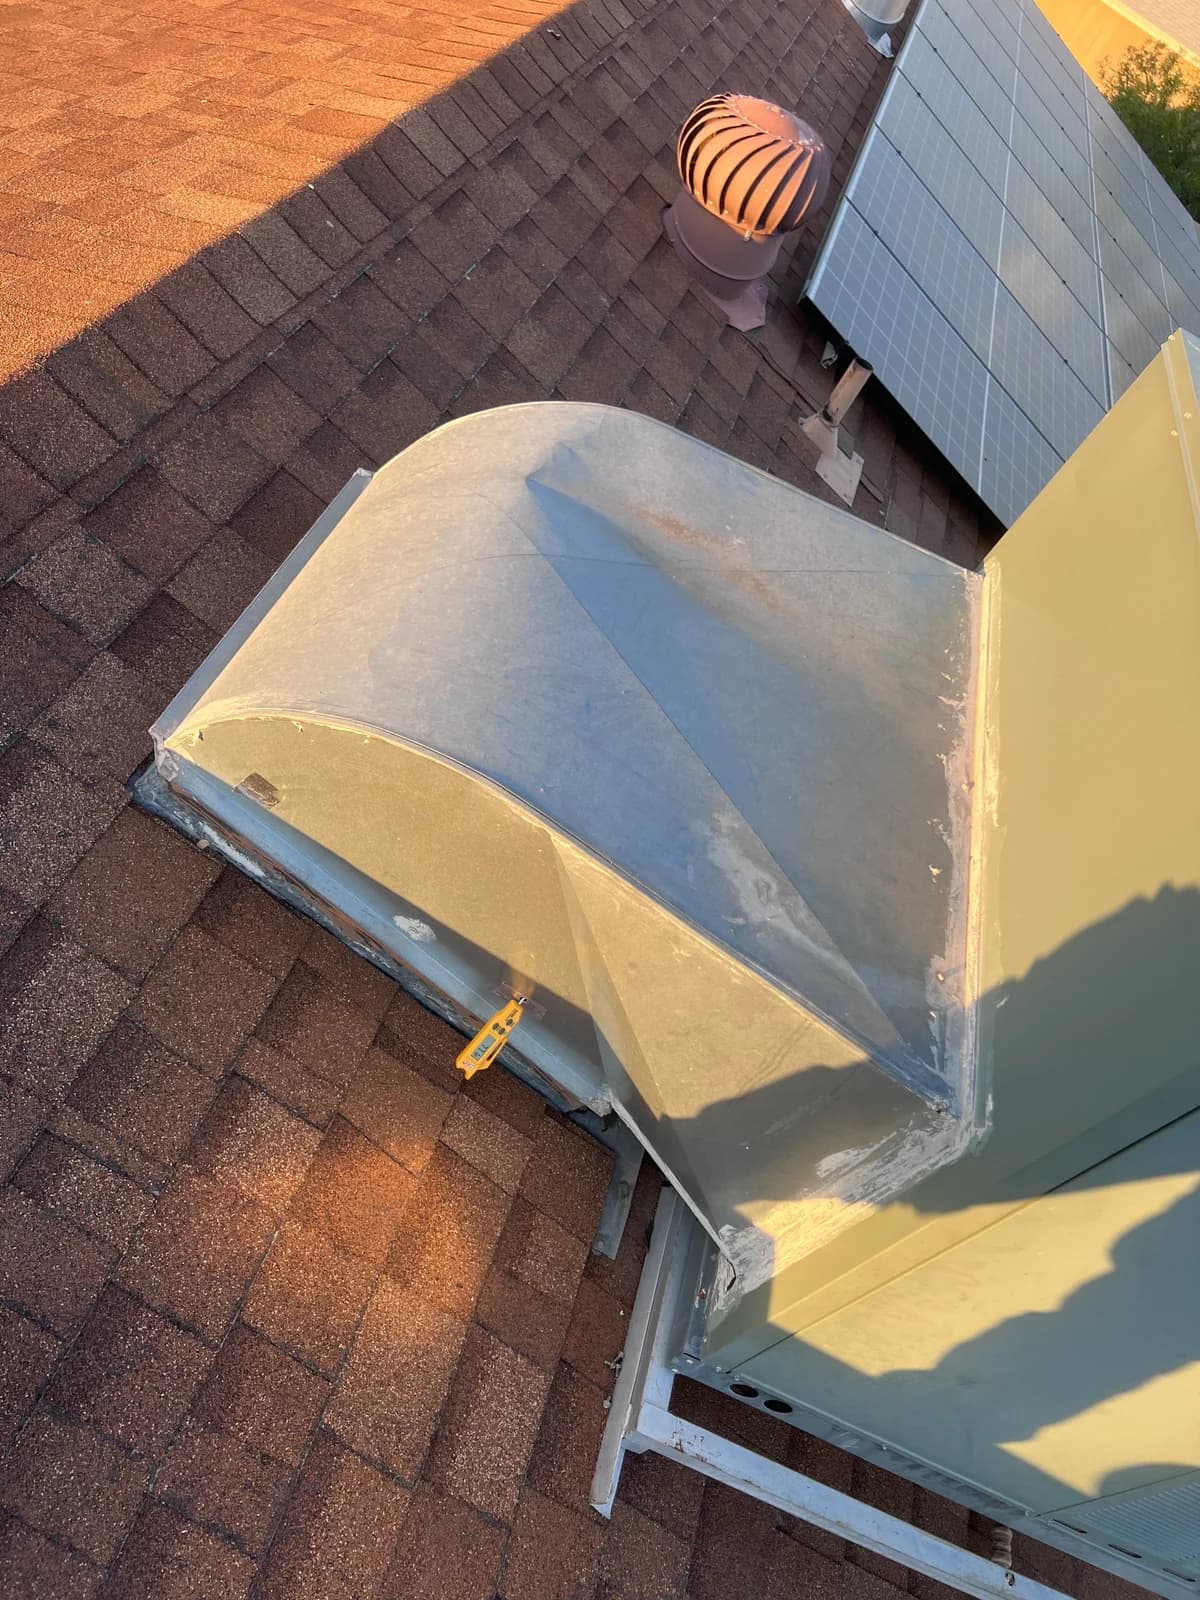
After
Cool Fox Project Story
A complete photo story showing the care behind the inspection, internal component work, comfort controls, and final rooftop review.
The Complete Process
Good HVAC work is more than the finished equipment you can see from the ground. This project gallery follows the work up close, from understanding the existing system to checking internal components, connecting the controls, and reviewing the complete rooftop setup.
Step One
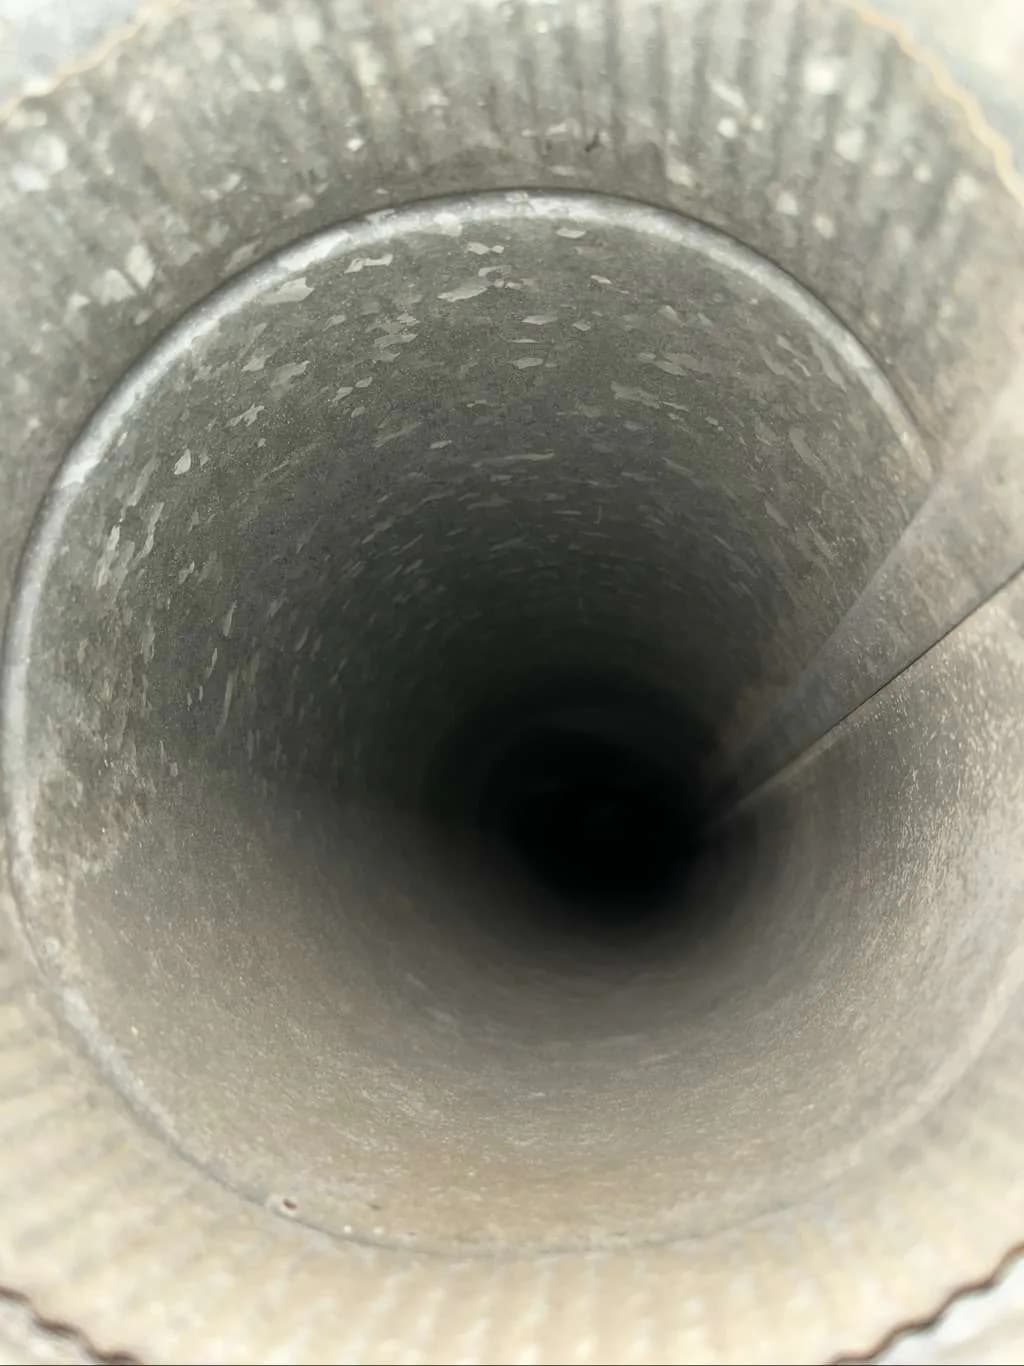
The work begins inside the equipment and duct connection. These close views document the condition, access points, and details that guide the next steps.
01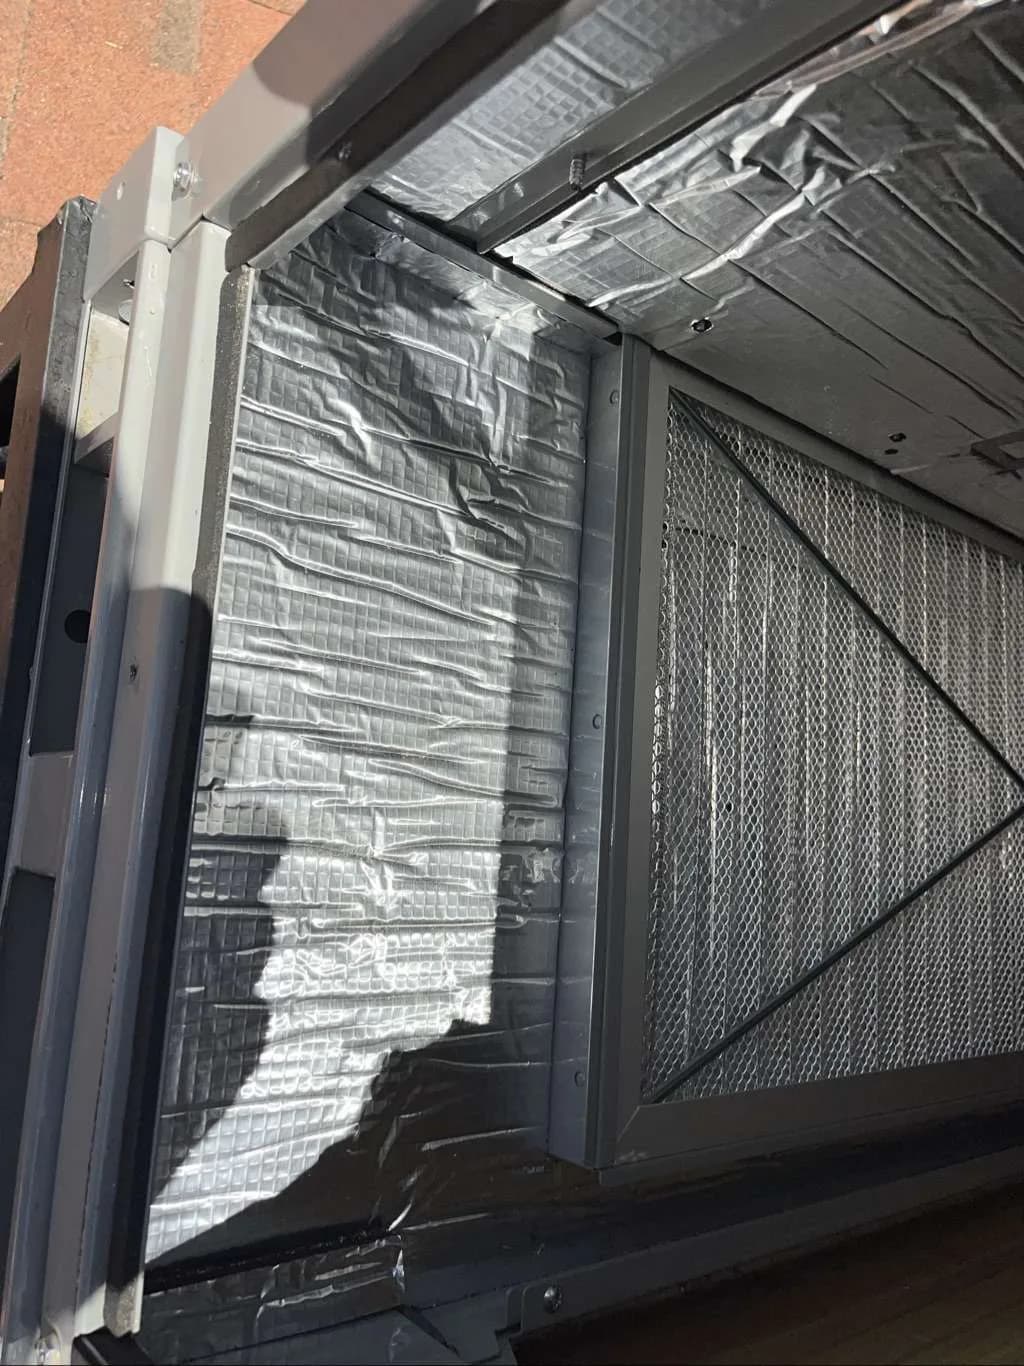
Step Two
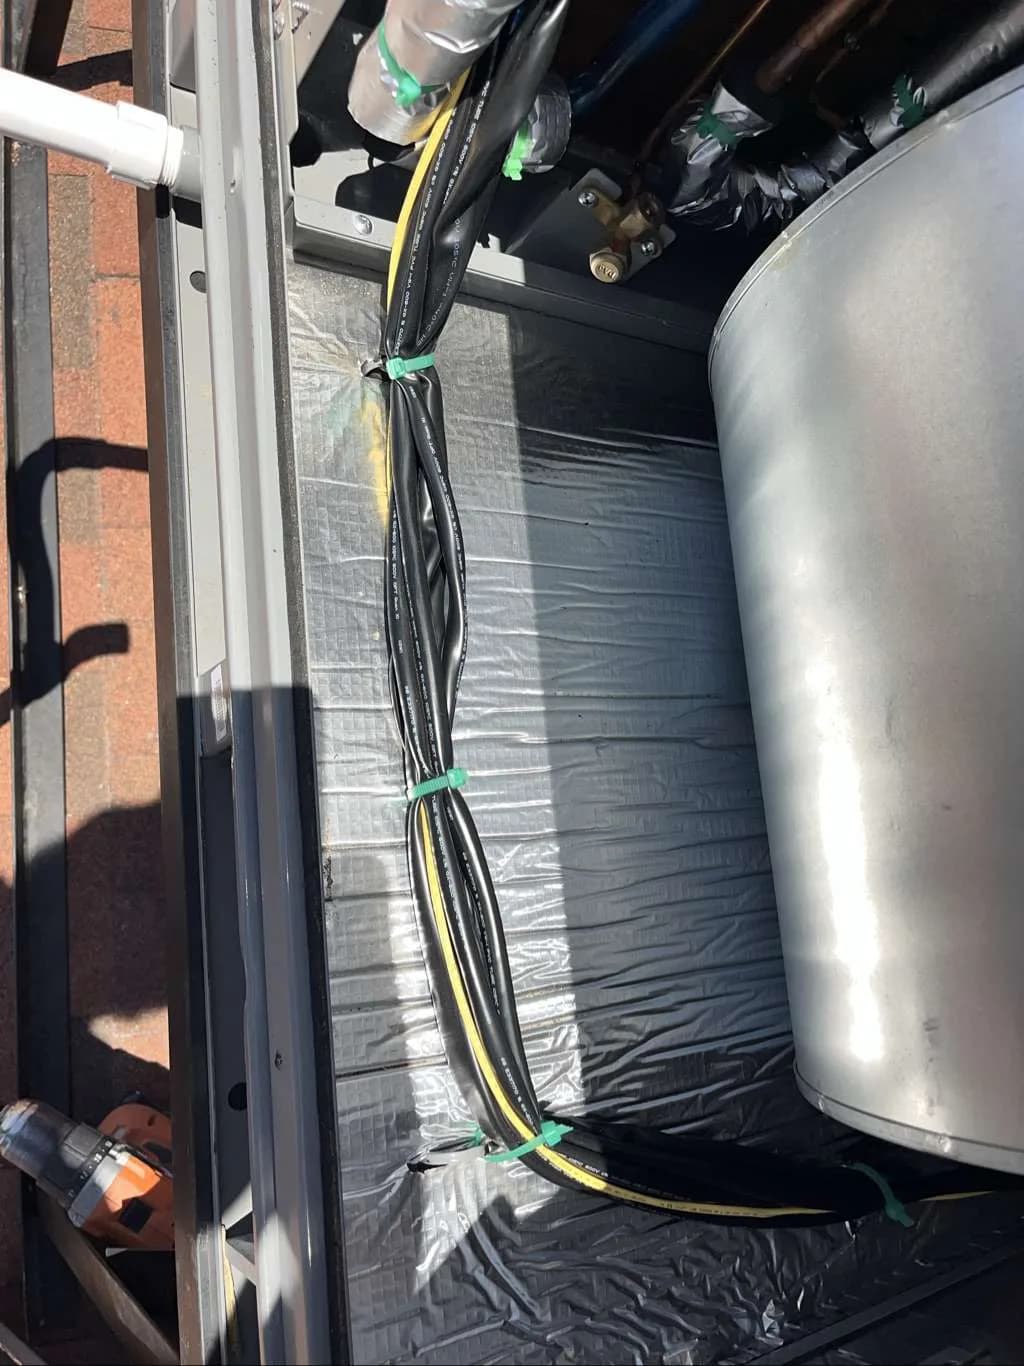
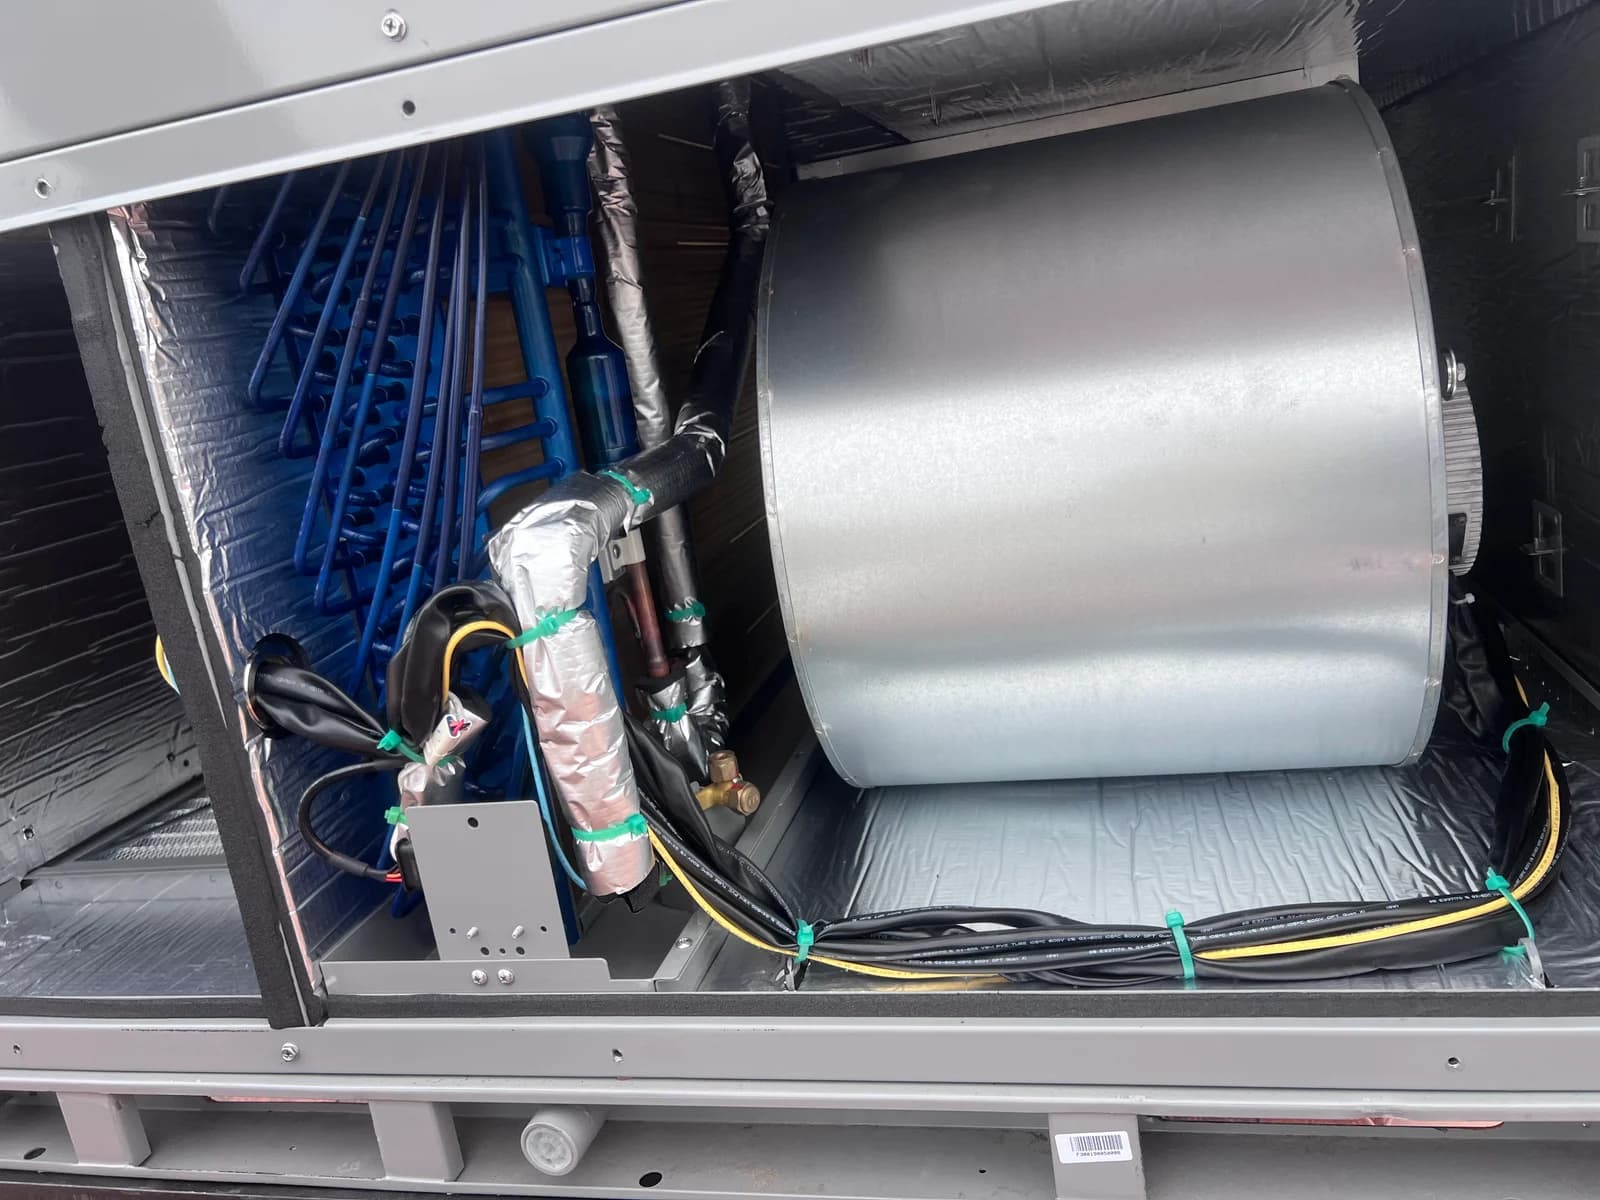
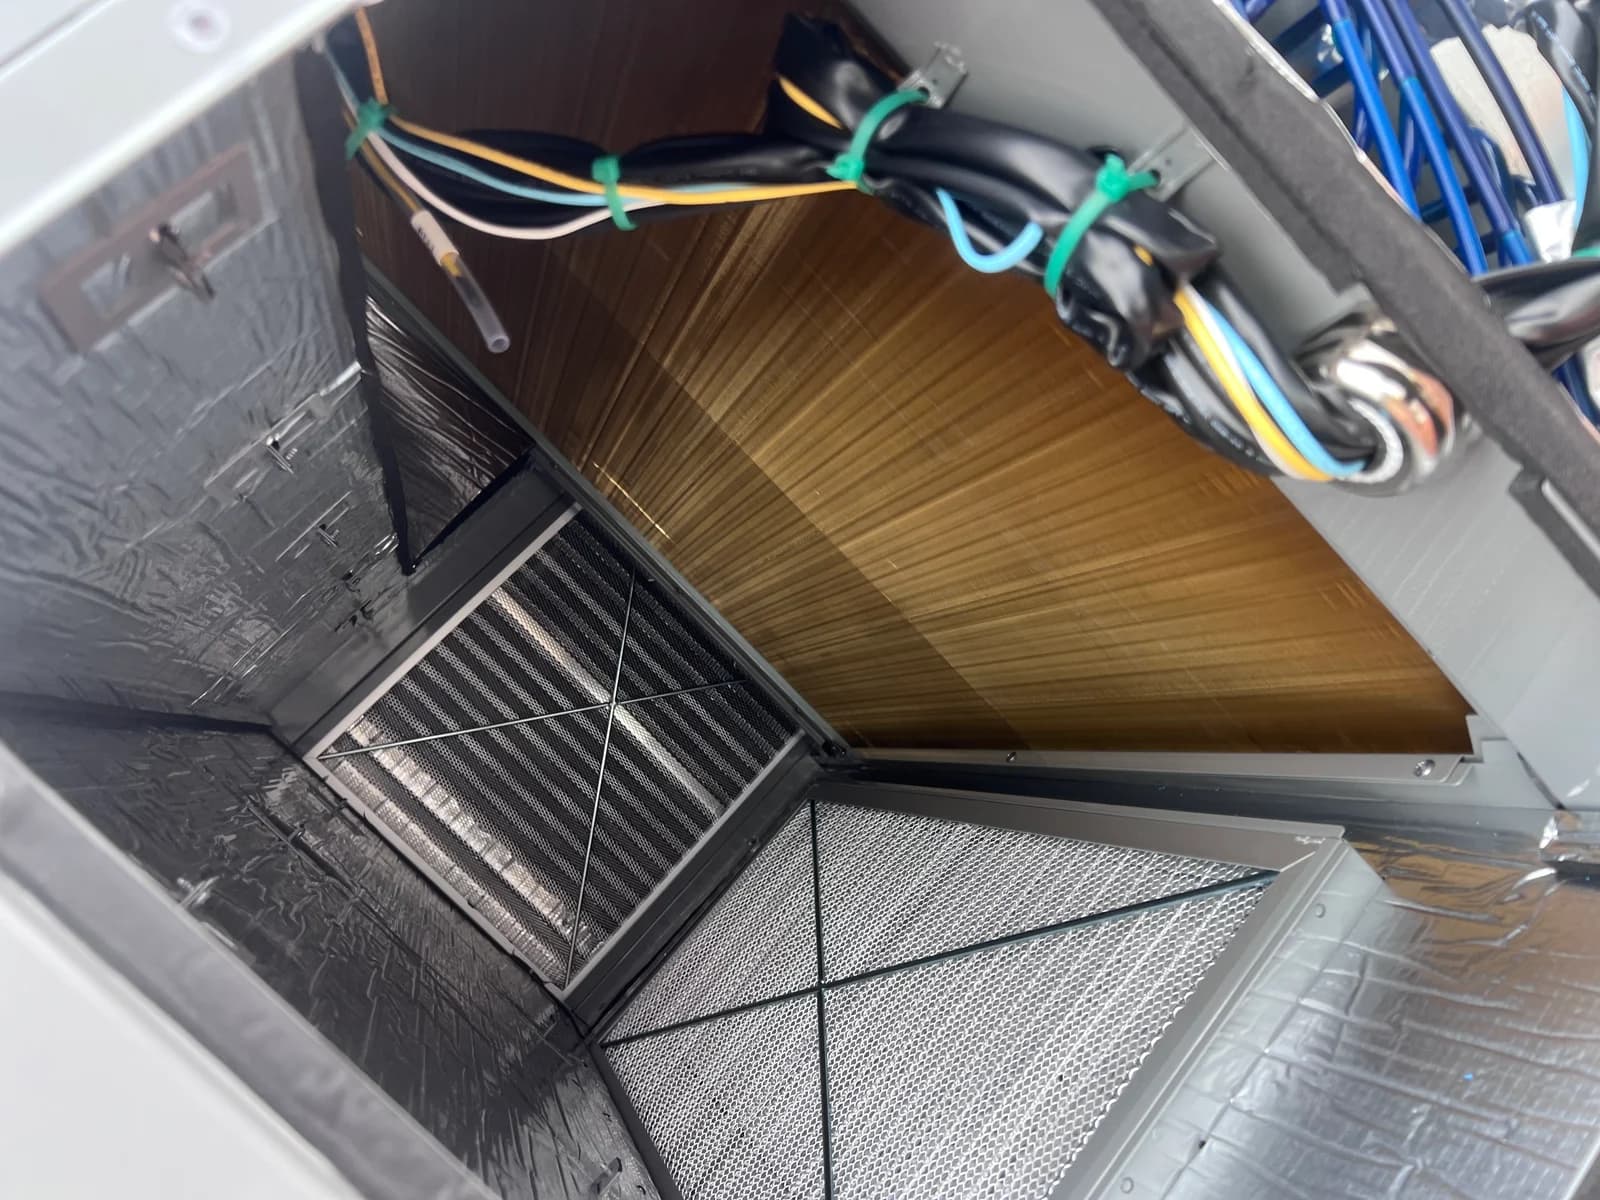
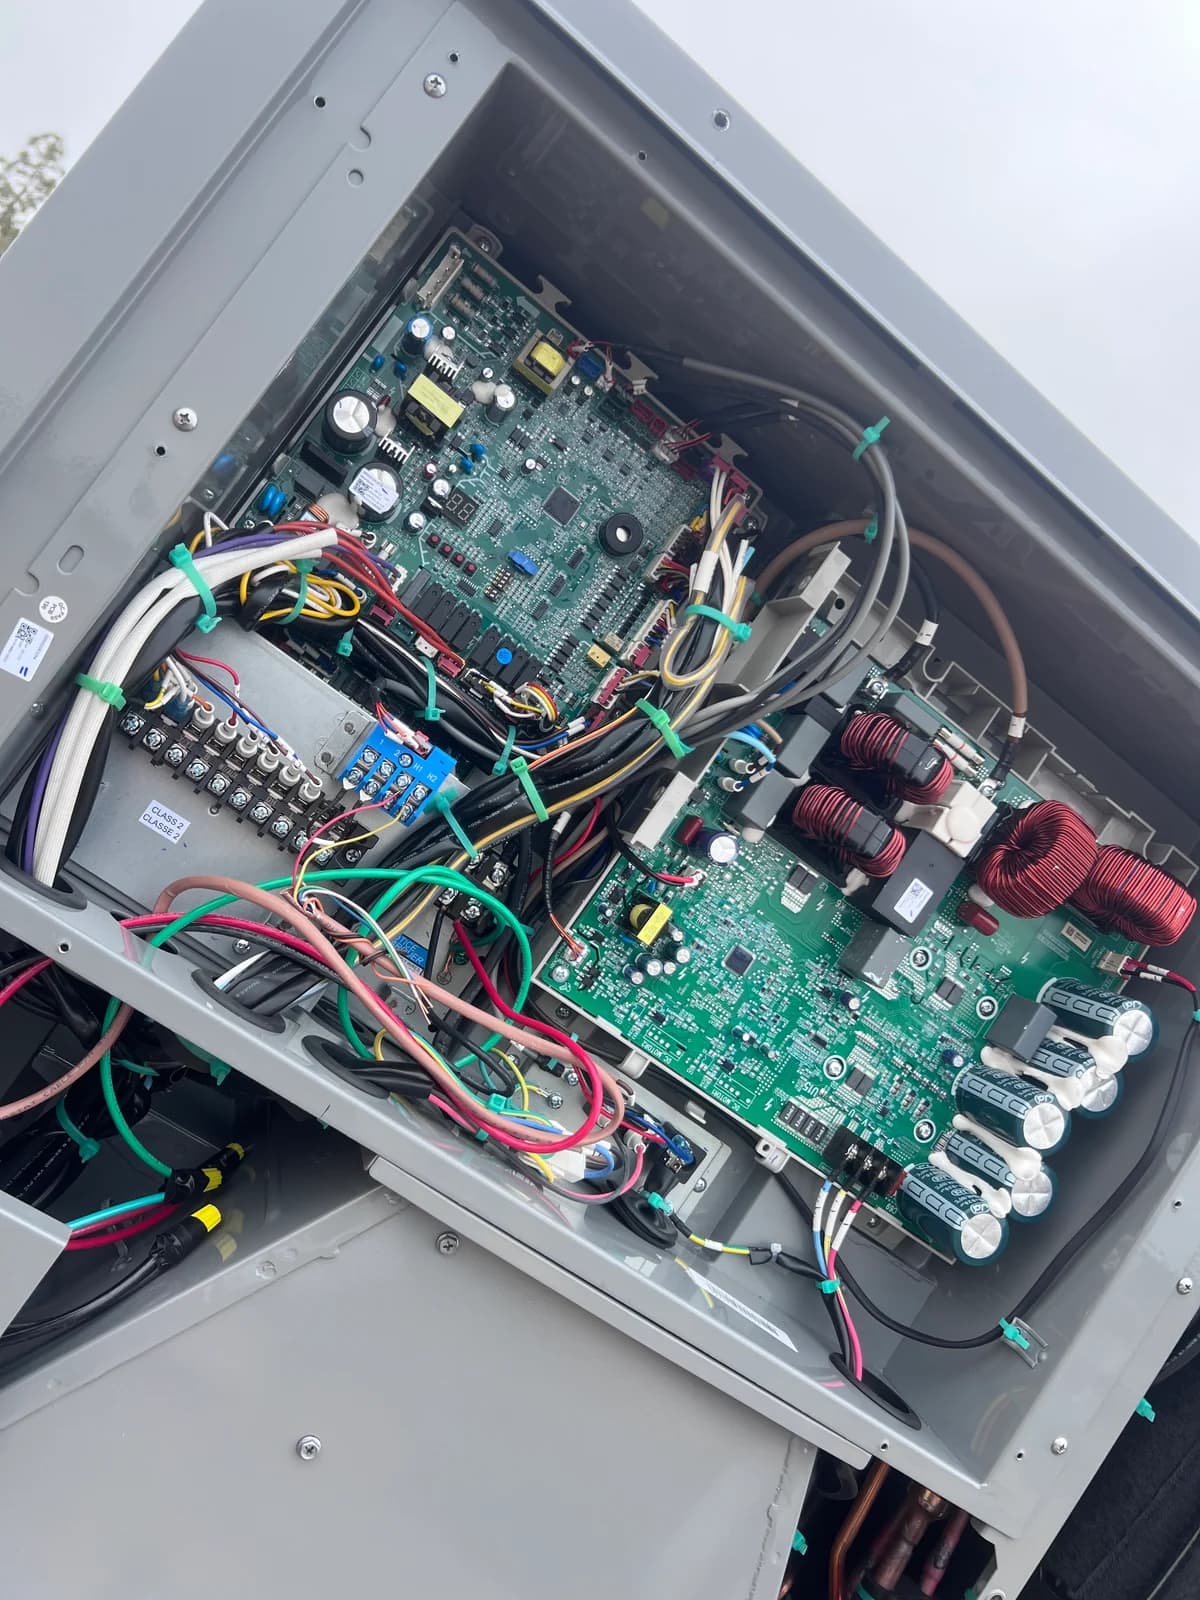
Open panels reveal the blower assembly, coil area, wiring, and the parts that have to work together for dependable airflow and comfort.
02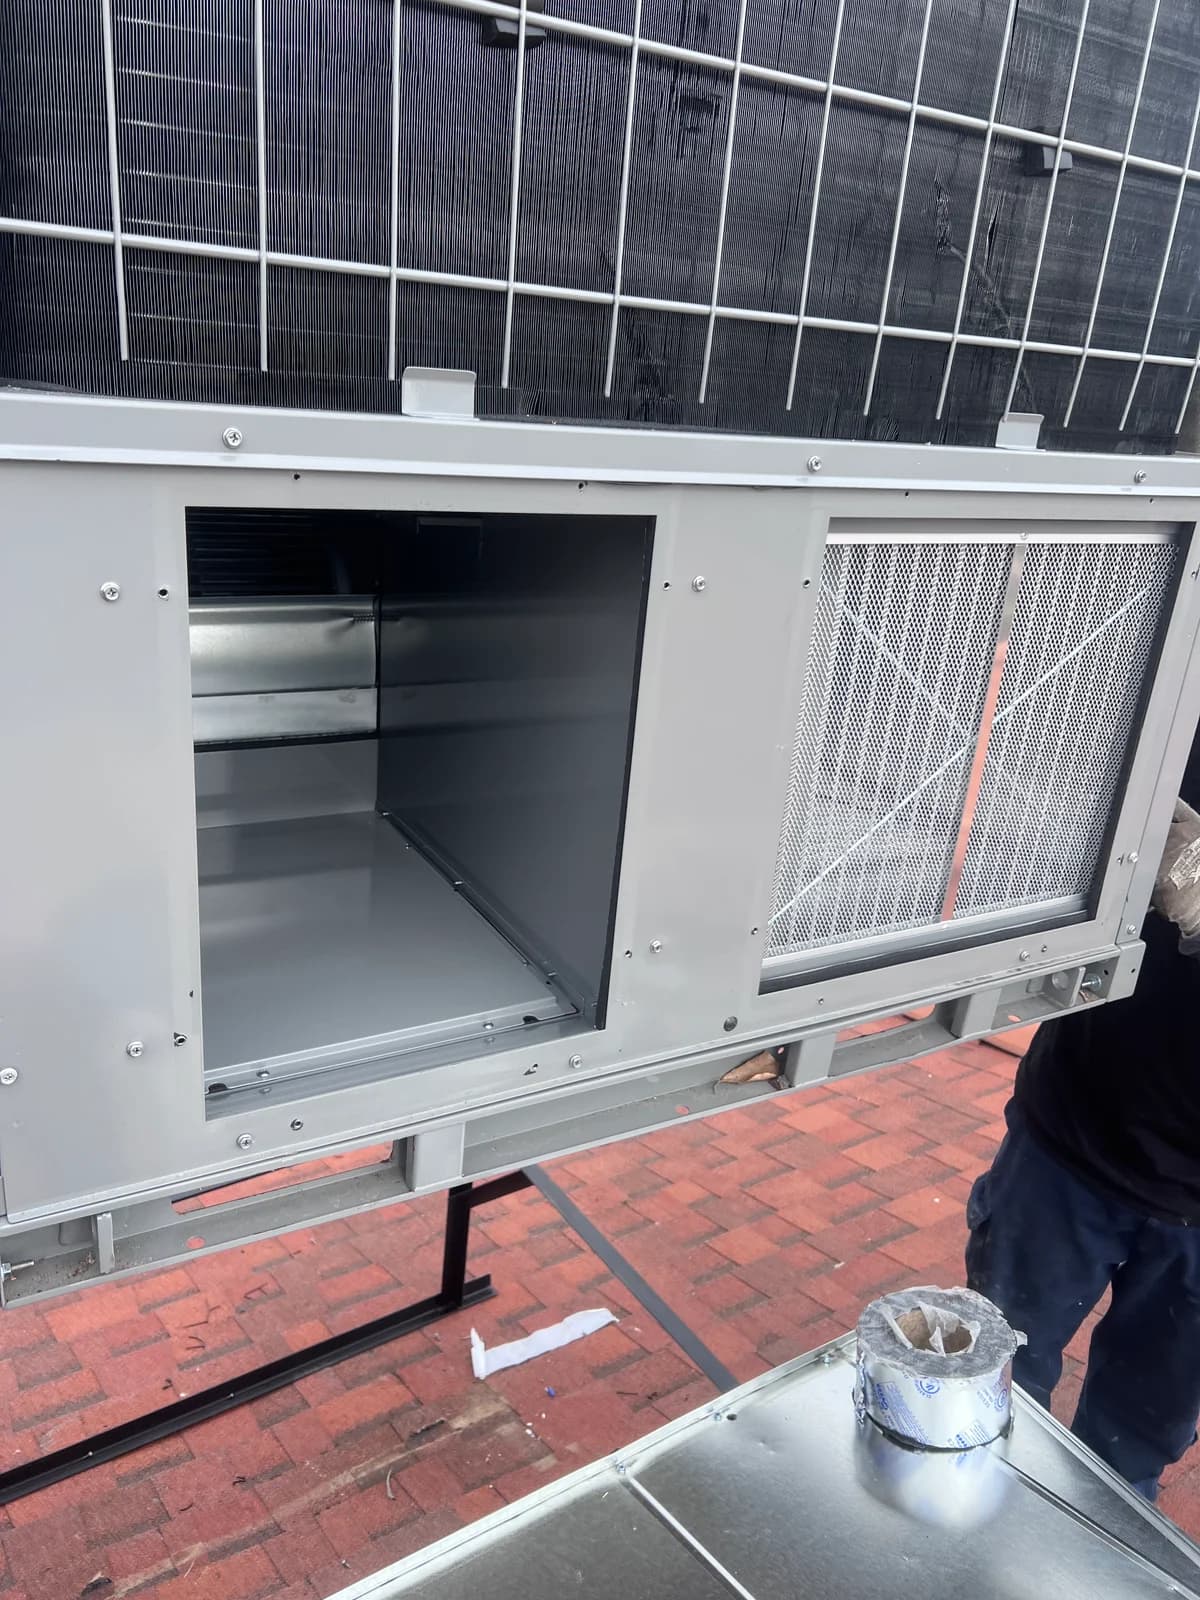
Step Three
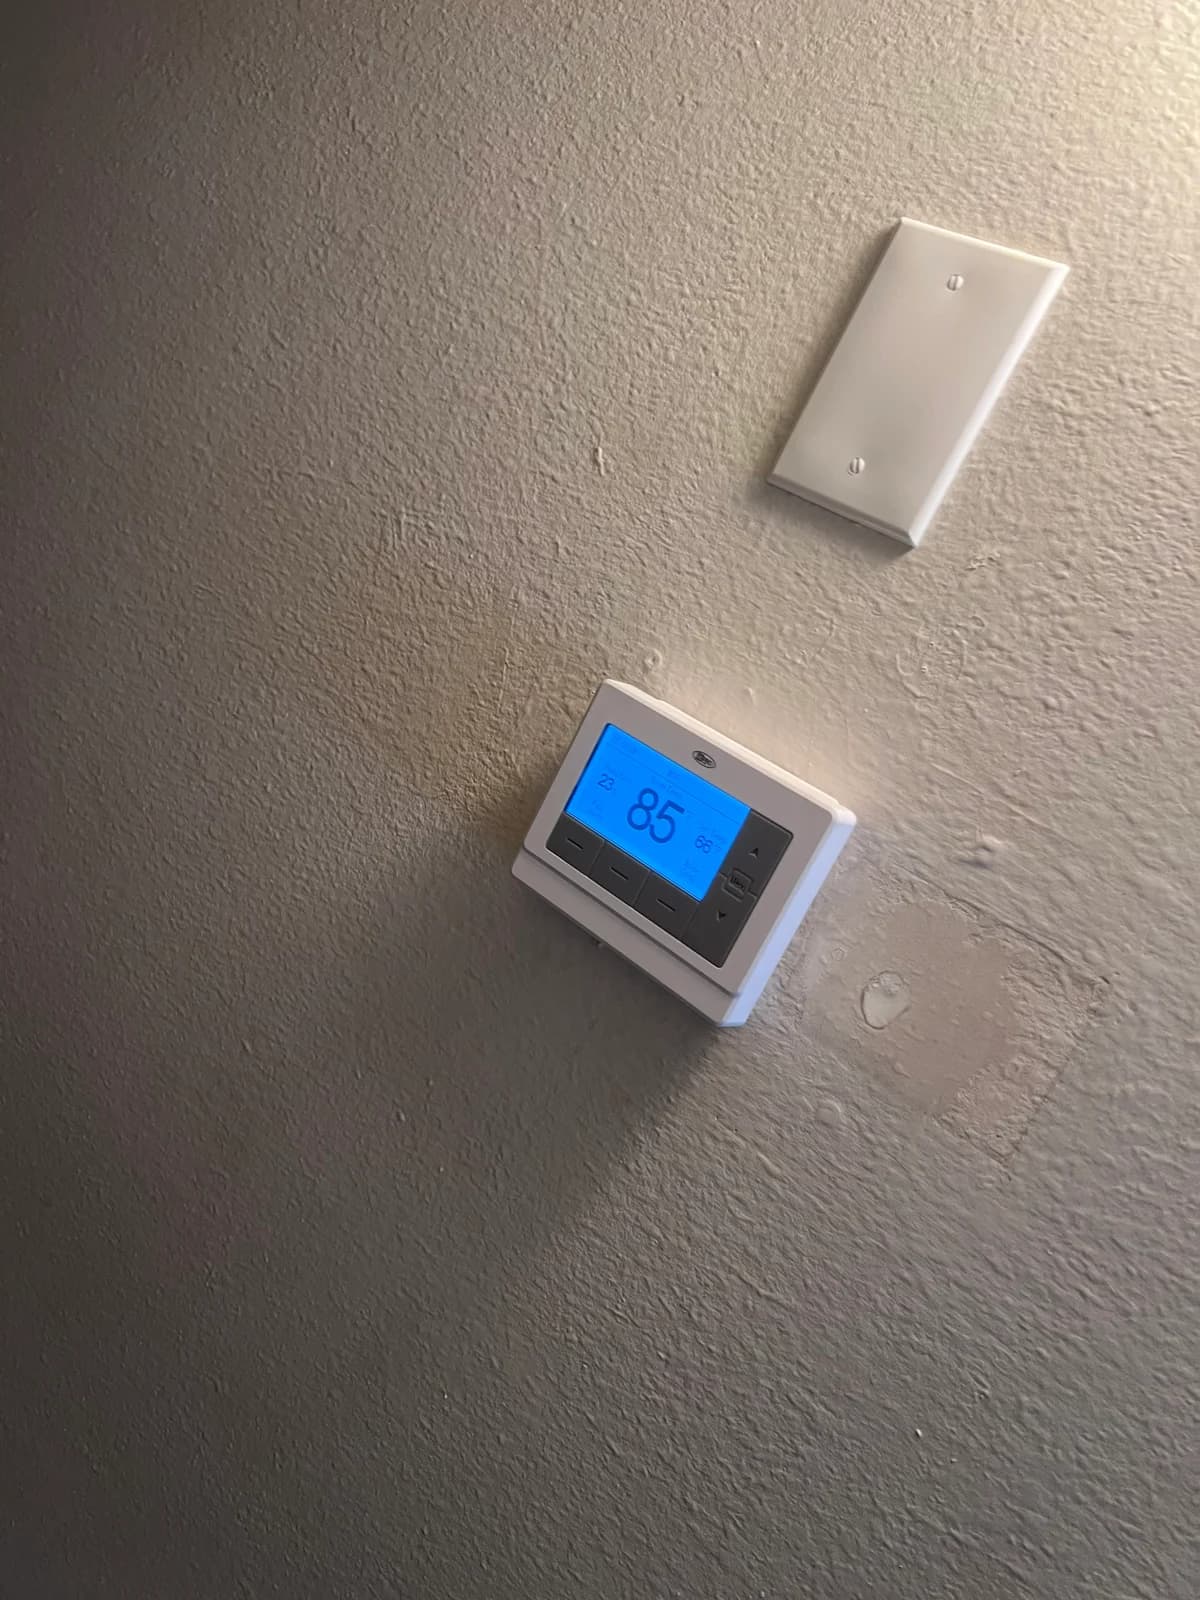
The thermostat, wall connection, and equipment control board are reviewed as one system so the property can communicate properly with the rooftop unit.
03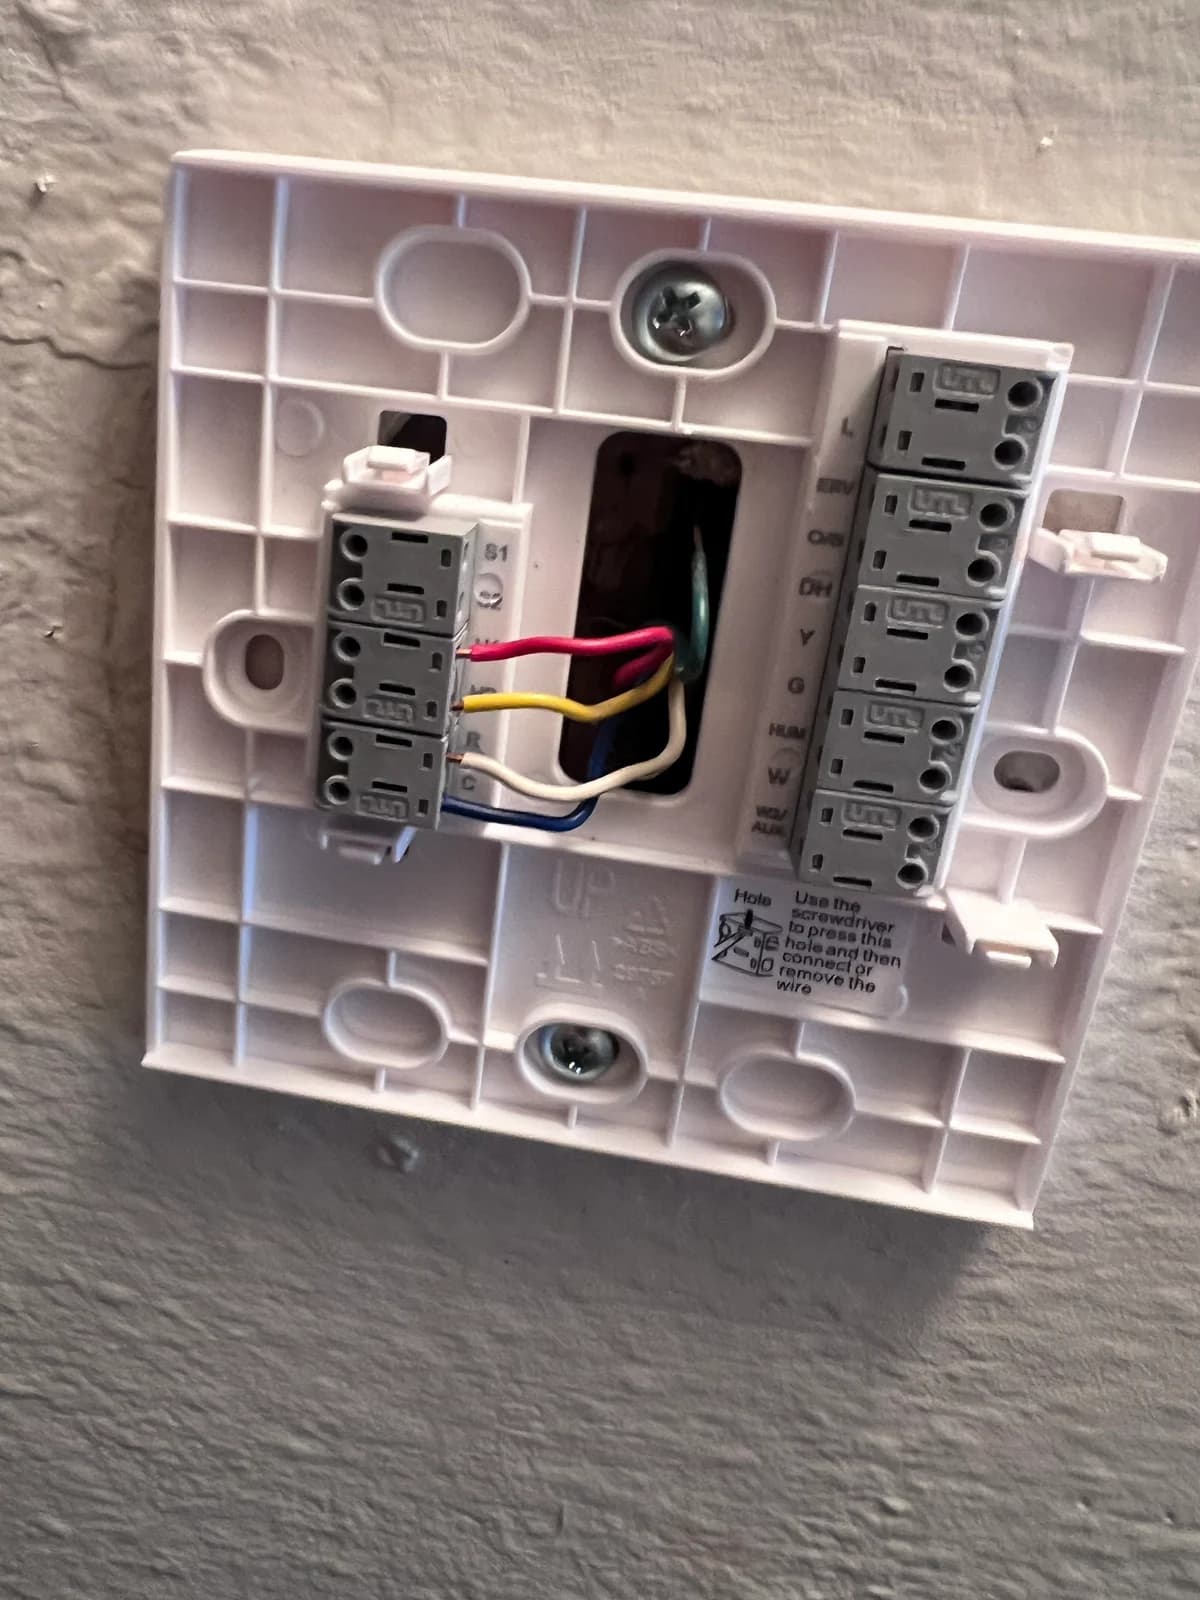
Step Four
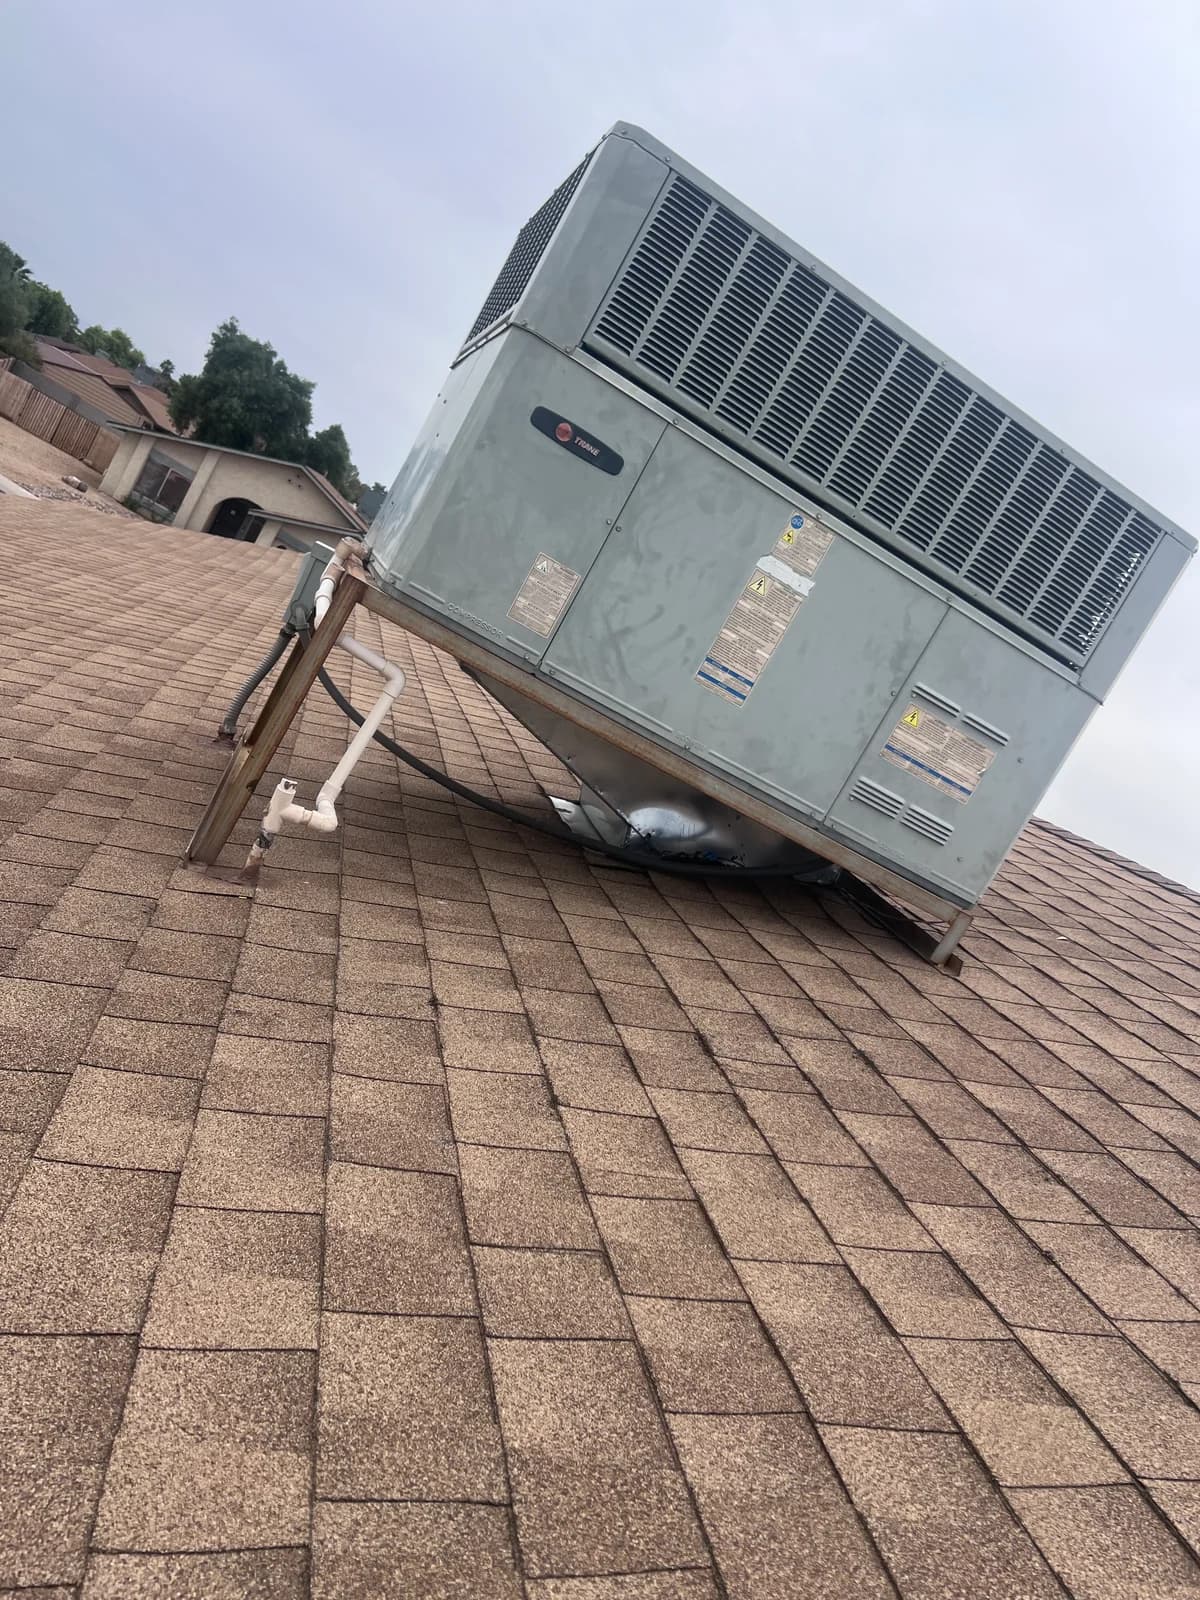
The final step brings the full job into view. Each real before and after set shows the equipment, support, connections, roof area, and finished installation from matching project groups.
04Aging rooftop equipment and its existing support layout were replaced with a clean installation, carefully routed connections, and clear service access.
Before
After
The original packaged unit and worn support were replaced with new equipment, a secure rooftop stand, updated connections, and a clean finished work area.
Before
After
Already Have a Written Estimate?
Get a free second opinion on the proposed scope, equipment, and pricing before you approve major repair or replacement work.